How to Start a Health Blog: A Step-by-Step Guide for Beginners
How to Start a Health Blog: A Step-by-Step Guide for Beginners- Part 1
Are you passionate about health and wellness? Have you ever been curious how to start a health blog?
Do you want to start something that you can use to share your passion while making money?
One of the top recommendations I have for people who want to get started in the health and wellness space is creating a blog! It’s a great way get yourself seen, start making connections, and share what you know.
The best part?
It’s super easy to get started, and at the end of it, you will have a platform to share your passion with others!
Ready to get started? Here is how to start a health blog: a step-by-step guide for beginners.
Already have a blog? Click here to skip to part 2 and learn how to make money blogging!
*This post about how to start a health blog may contain affiliate links.
How to start a blog.
There are a few steps to get you started. In this first part, I will share the technical aspects of how to start a blog. In part 2, I will go over how to make money with it!
1. Pick a niche.
Yes, we are talking about building a health and wellness website, but I would encourage you to pick a more specific niche within the health and wellness space.
Since I am a Certified Essential Oil’s Coach, I structured my blog with an emphasis on essential oils. The more specific the niche, the easier it will be for you to reach your target audience.
When deciding on a niche, make sure to think about what you personally have experience with (how to lose weight, gut health, essential oils, fitness for moms, etc.) or something that you are passionate about.
It will help if you pick a niche in one of these two categories because you will have a lot to write about and a lot of content you will be able to create!
2. Pick a name
The next step is to pick a name. You will want to make sure you spend a lot of time on this since it will be the backbone to your blog.
If you are short on ideas, you can always start the blog under your personal name and brand. I am a fan of creating a brand around yourself since you are multidimensional, and chances are your passions might change.
It would be a benefit to be able to stay flexible and adjust depending on what your followers want to see more of.
The downside to this option is that it might take you a little bit longer to get up and running since no one would know who you are at first.
3. Free vs. self-hosted platforms
There are two types of ways to host your blog. There are free blog hosting and free plans (like blogger.com), but these are not recommended. The majority of profitable blogs do not use these because of many reasons.
- They cannot be fully customized.
- The websites tend to be slow.
- They can look unprofessional.
That is why in this article, we are going to stick to self-hosting instead (think WordPress and Bluehost).
Here are just some of the reasons why I use and recommend WordPress:
- It can be fully customized (you can create the exact look you want to achieve)! The options are endless.
- This platform is super simple to use, and it is great for beginners.
- It is well-known, and there are tons of helpful video tutorials that can help walk you through things.
4. Start a blog with Bluehost
Next, you will have to determine who you want to host your website.
Hosting is the back end and the power to your blog. Hosting is so important for your website, and it does matter where you get your hosting plan.
If you want to have your own blog, then you will have to pay for a domain name and hosting.
Before I started my blog, I made sure to do a ton of research. That is why I use Bluehost.
Why Bluehost?
There are many reasons why I chose Bluehost! Here are just a few:
They offer 24/7 support from a team of experts.
It’s inevitable that along your blogging journey you will need support.
Every time I need support or have an issue, I am able to speak with someone directly. They can be accessed through chat or phone and are very knowledgable.
Their customer service is great!
Money back guarantee.
They believe in their product so much that they offer a 30 day money back guarantee.
Free SSL Included.
I know that I am getting a bit more technical now, but it’s so important for your site to have a SSL certificate.
An SSL certificate is the little “padlock” that you see before the domain name on the internet. This allows secure connections and protects sensitive information like credit card information, usernames, and passwords, and it keeps data secure between servers which builds customers’ trust.
If websites don’t have an SSL certificate, then google is going to flag your website this year! Here is a great article if you want to learn more.
5. Pick your plan
Bluehost offers some different hosting plans that you can choose from.
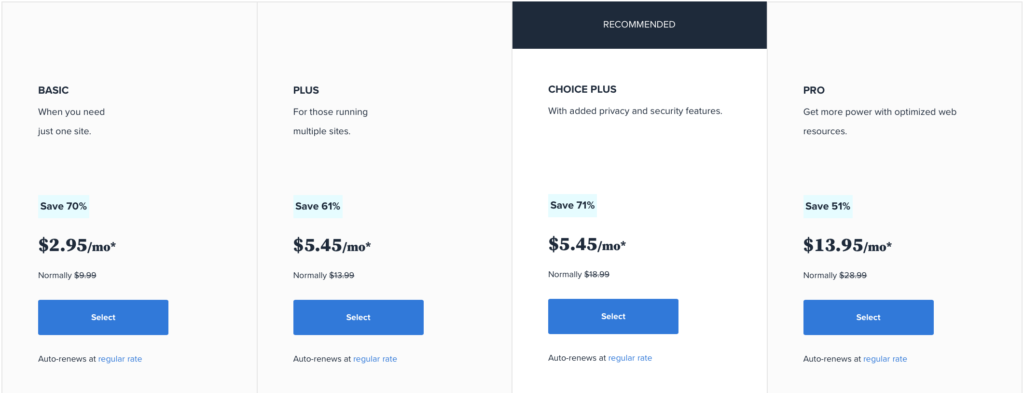
From here, you can pick the plan that you want. If you are just getting started, then you can choose the Basic Plan option. This plan is a great option for a new blogger.
I personally like the Choice Plan because I feel like you get a lot for your money.
Remember that whichever plan you choose, Bluehost offers a 30 day money back guarantee! If for some reason you aren’t happy with the plan you purchased, you have 30 days to get a refund. That makes it a no brainer to try it out!
6. Choose your domain
Now comes the fun part! This is where the name you picked in step 2 will be important! I would recommend making sure your domain name matches your brand name to the best of your ability.
To see if the domain you want is available, you can enter into the step below and hit “next.” If the domain is taken, then a yellow box will pop up that says “unable to continue.”
If you are stuck on which domain name you would like to use, then you have the option to choose your domain name later.
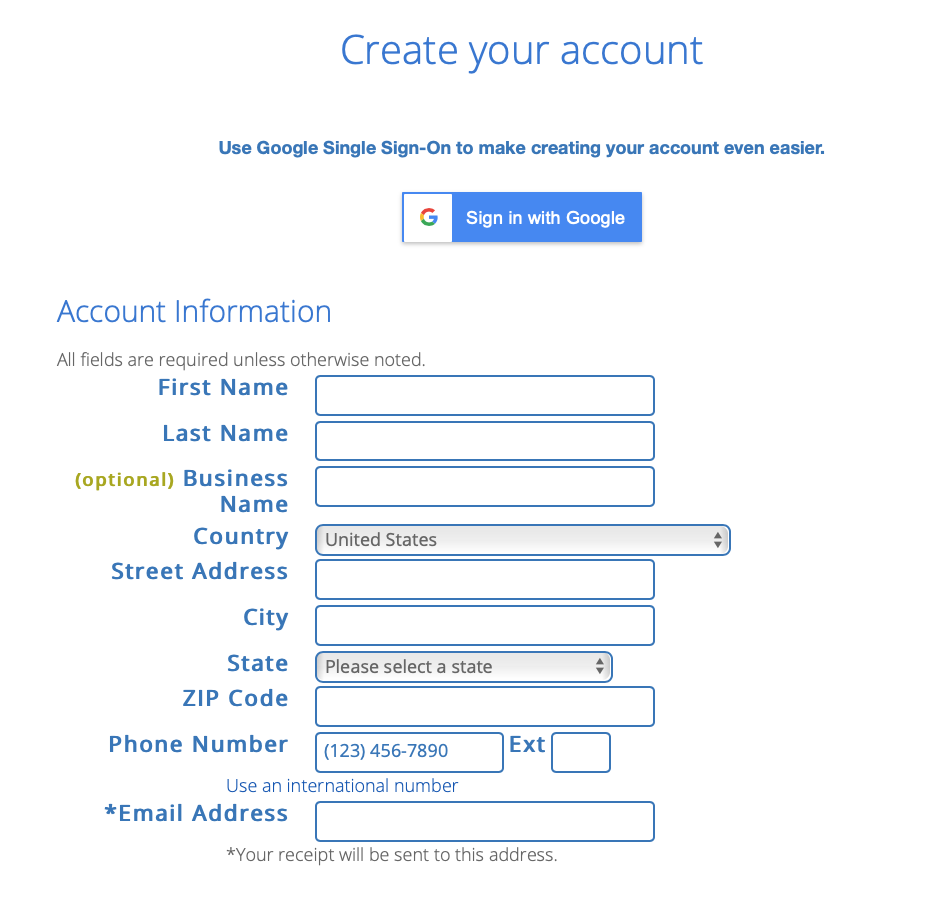
7. Enter account information
The next step in how to start a health blog is to fill in the account information in the fields provided along with selecting the account plan you want to go with. Take note that the longer the terms are, the less your monthly payment will be.
You can also enter in any “extras” that you may want added to your account.
*If the Domain Privacy Protection is not included in the package you purchase, then I would recommend you add it. This will help keep your personal information private.
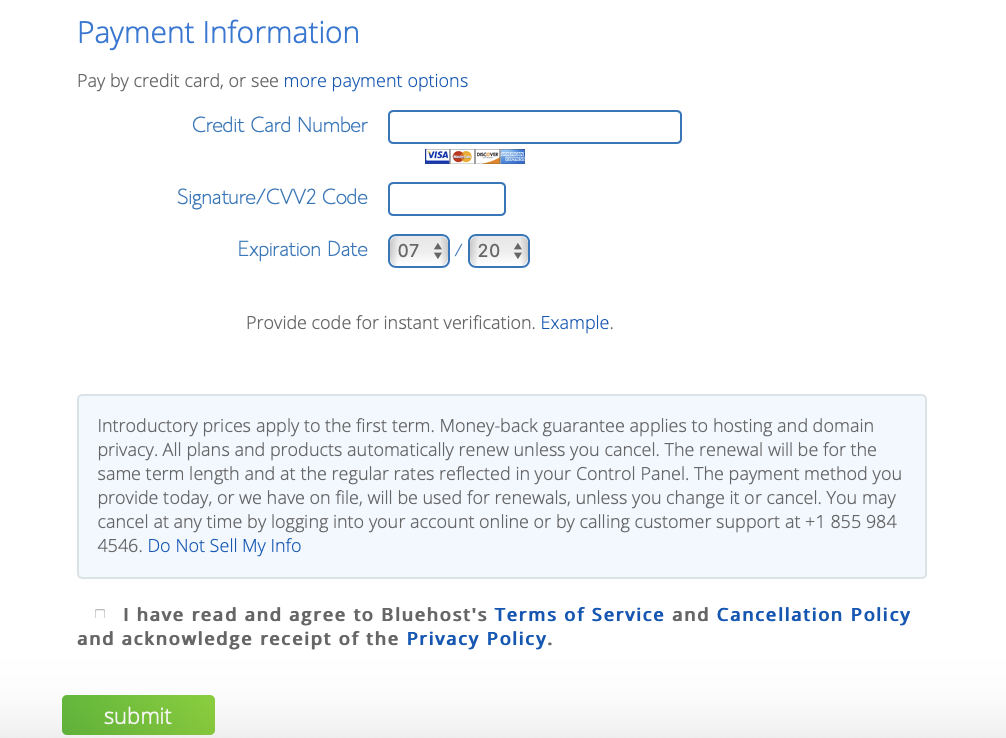
8. Complete your payment information
Fill in your payment information, and make sure to check the box that you have read and agree to all of Bluehost’s terms.
After you have done that hit “submit.”
You should receive an email from Bluehost confirming your purchase and setup. Make sure to keep this email because it will contain your Bluehost login information!
Congrats! You now own your own blog!
9. Install WordPress
Like I said previously, Bluehost makes it super easy to get started with WordPress right away!
Below are the steps to get it installed:
Log in to your Bluehost cPanel account
Select the Hosting Login. This is where you will need your Bluehost login information from your confirmation email.
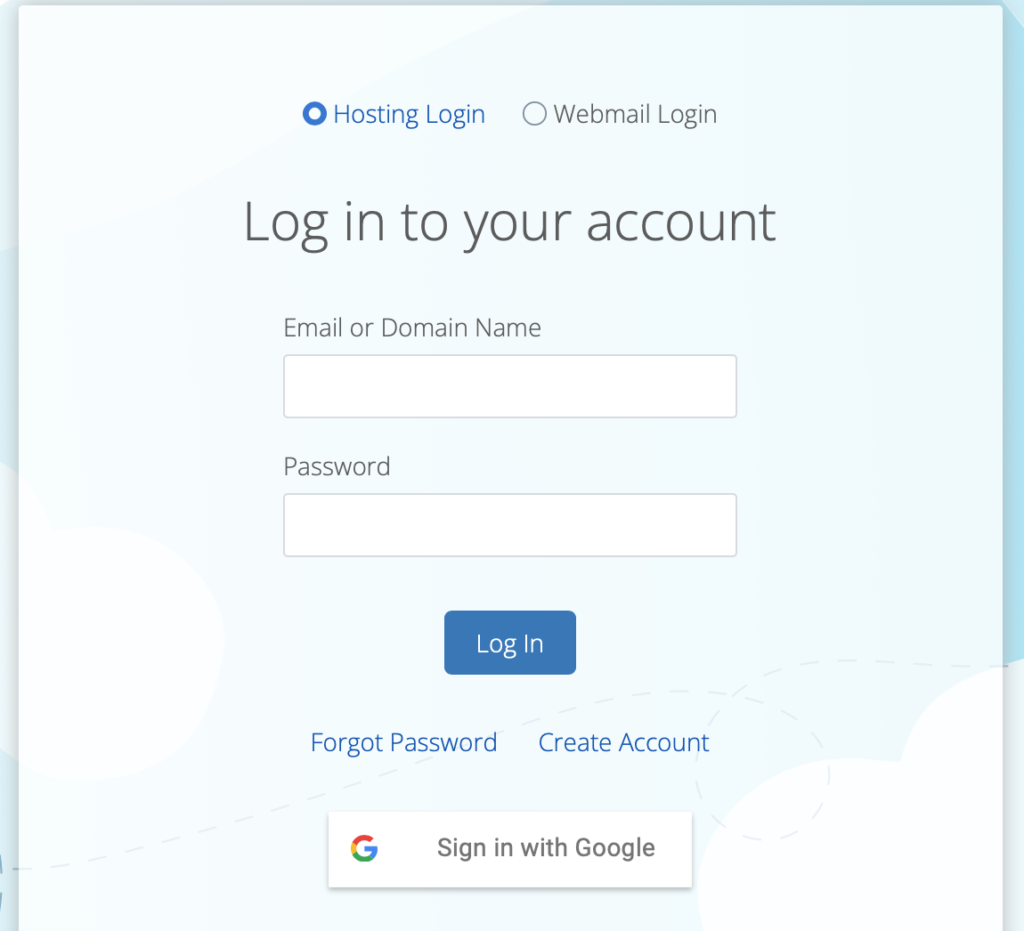
Click on the option “cpanel” on the second row, then select the “Install WordPress” icon under the section website.
Choose where to Install WordPress
Enter the domain name you picked to install it.
In the field next to the domain, you can enter a subfolder such as ‘blog’ or leave it blank if you want the site’s main page to be the blog.
This step should be pretty easy, but you can always request assistance if needed.
Enter information and complete installation
Now you will enter the information along with an admin username and password. Make sure to remember this and store it somewhere safe since you will need this information each time you log in to your website.
Click “next” to complete the WordPress Installation.
Your WordPress installation is completed!
To access your website’s dashboard the site address is your website.com/wp-admin. This is where you will use the WordPress username and password you just created to log in.
10. How to Start a Health Blog- Select a theme
Now this is the fun part- you get to pick a theme for your website and start designing!
When you first log into WordPress, you will have a preset theme. It is a simple theme that you can start with, but there are many more options to give your health blog the look that you want to achieve.
There are many different themes that you can choose from. Some are free and some you have to pay in order to use.
A great theme to use is Divi from Elegant Themes. It’s easy to use and can be fully customized.
I recently upgraded my website to the Kadence theme using Restored 3:16 designs. I love these themes and other website additions due to the infinite possibilities and beautiful designs that are so easy to customize!
See which theme is best for your website here with this free quiz!
11. Upload your theme
After spending some time researching a theme, picking it out, and downloading it to your computer, now it is time to upload it to your WordPress site.
- Open the admin dashboard (yourwebsite.com/wp-admin).
- Click on the “Appearance” tab on the left side tool bar.
- When you hover over it, then you will see an option for “themes.” Click on this option.
- Hit the “add new” button, then click “upload theme” to add the theme into your WordPress site.
- The last part is to activate the theme on your website.
That’s it! Now that you have the theme for your website installed, you can start designing and creating your blog posts!
You now have your very own health blog, and the possibilities are endless with how you can use it!
12. Celebrate
Before you start the next phase of creating a health blog (which is optimizing it and setting it up to make money), take some time to celebrate how far you have come! It is a pretty simple process, but a process that not many people take because it is unknown to them.
You took the step to learn how to start a health blog, so you can follow your dreams and live your passion! That takes guts and deserves to be celebrated!
I would love to see the websites you setup! Make sure to send me an email showing me your finished product:)
Who knows… you might have the chance to get featured on my blog or social media!
Part 2- Click here when your ready for the next step, and learn how to make money blogging!
In this part, we are going to learn:
- How to identify your ideal reader
- How to monetize your blog (to make money)
- How to get traffic
I hope you enjoyed this post about how to start a health blog: a step-by step guide for beginners. Are you going to start building your blog today? I would love to hear in the comments below!
Until then,
Reeni
Get immediate access to my top 5 must-have instagram apps here!
Resources:
I keep an updated list of all the business tools that I love and use. This is a list of the tools and websites I strongly recommend for creating a successful online business.
Here is a list of some of the top business books to read!
Pin for later:

Author: Simply Reeni
I am a Certified Essential Oils Coach, and the founder of Simply Reeni. I help empower women to take control of their family’s health by using natural solutions like essential oils! Get more articles like this (and a free diffuser blend ebook) sent to your email here!